
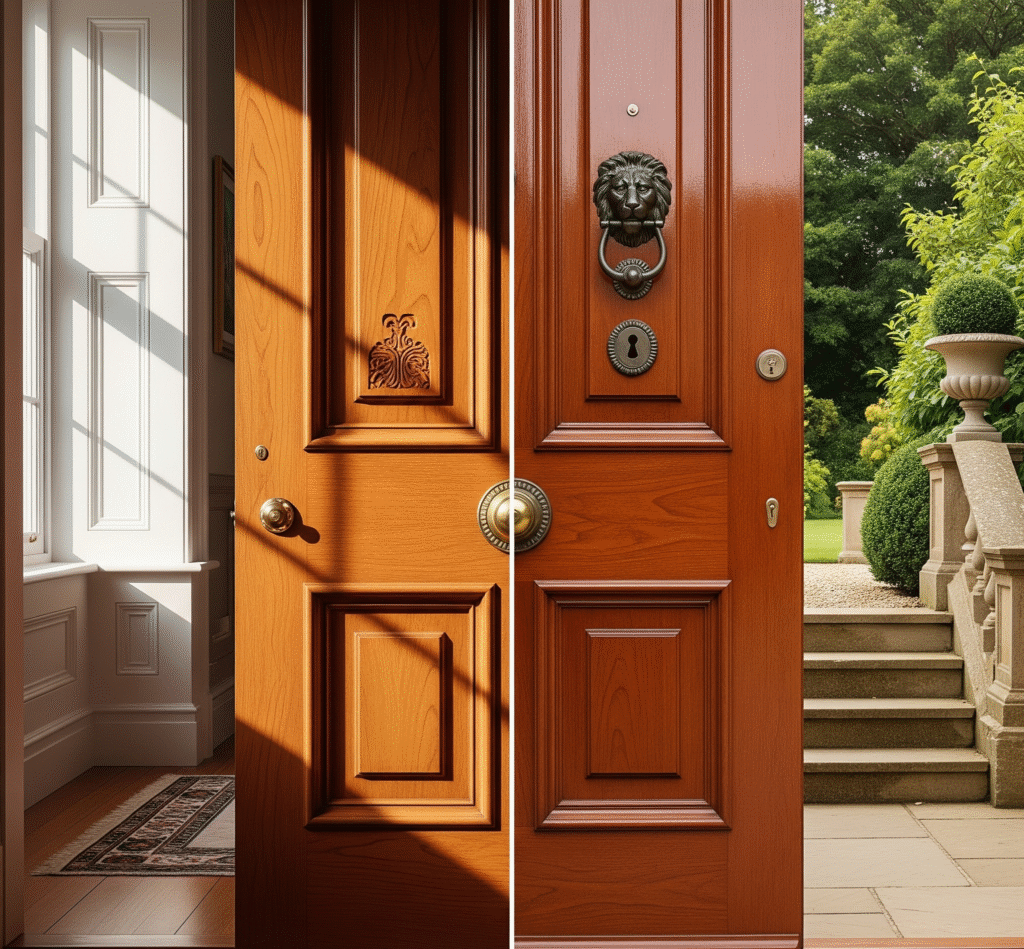
Polishing wooden doors isn’t just about looks—it’s about preserving the life and beauty of your wood. Over time, wooden doors can lose their luster due to dust, humidity, and daily wear. Regular polishing brings back their natural shine and adds a protective layer that prevents moisture damage, scratches, and fading. A well-polished wooden door enhances the overall aesthetic of your home and creates a welcoming first impression.
Whether it’s your front door, room doors, or vintage cabinets, polishing helps maintain the elegance and strength of the wood. This simple routine also prevents costly repairs and refinishing in the long run. In this article, we’ll guide you step by step through the process of polishing wooden doors—from preparation to finishing touches. Whether you’re a DIY enthusiast or a first-timer, these practical tips will help you achieve professional results at home.
Understanding the Types of Wooden Doors
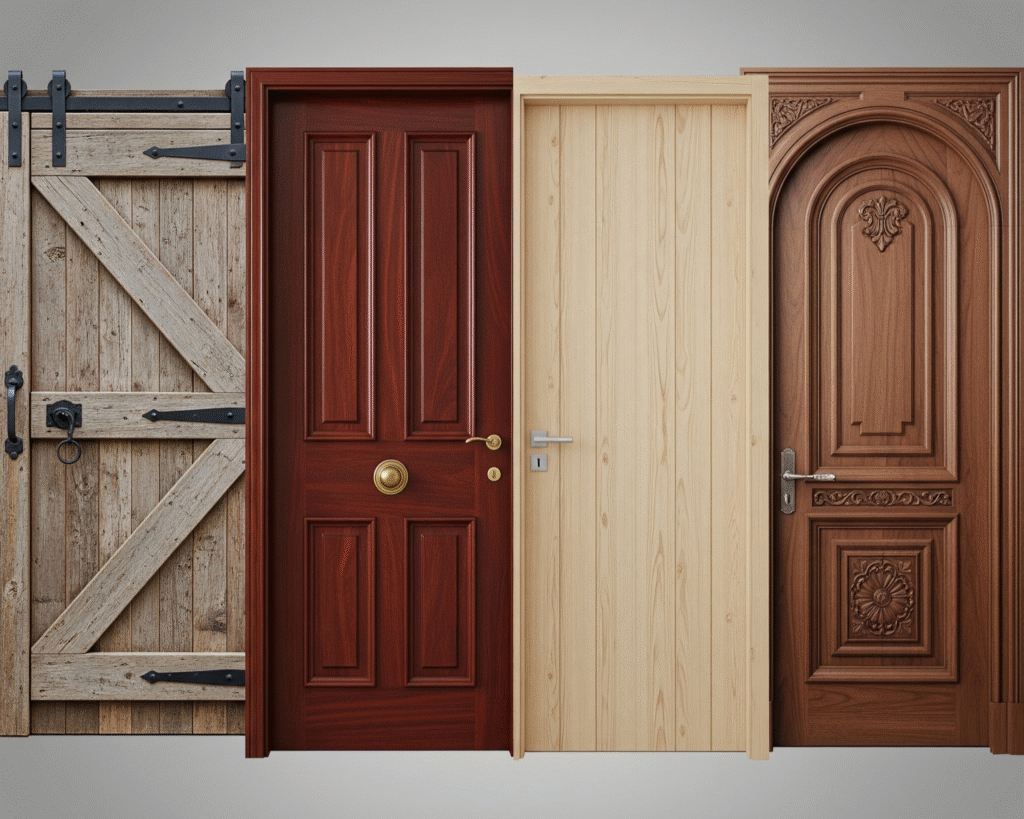
Before you start polishing your wooden doors, it’s important to know what kind of door you have. Some doors are made completely out of real wood like oak or pine. These need special care depending on the type of wood. Other doors are made with a thin wood layer on top and other materials underneath. These are called veneer doors, and you have to be careful not to sand them too much. Some doors are made from a mix of wood and man-made materials, and they might need different polish.
Older or fancy carved doors might need a softer touch so you don’t damage them. When you know what kind of door you’re working with, it’s easier to pick the right polish and tools. For example, softwood doors soak up more polish, while hardwoods need extra rubbing to shine. Knowing your door type helps you polish it safely and make it look great for a long time.
Tools and Materials You Will Need
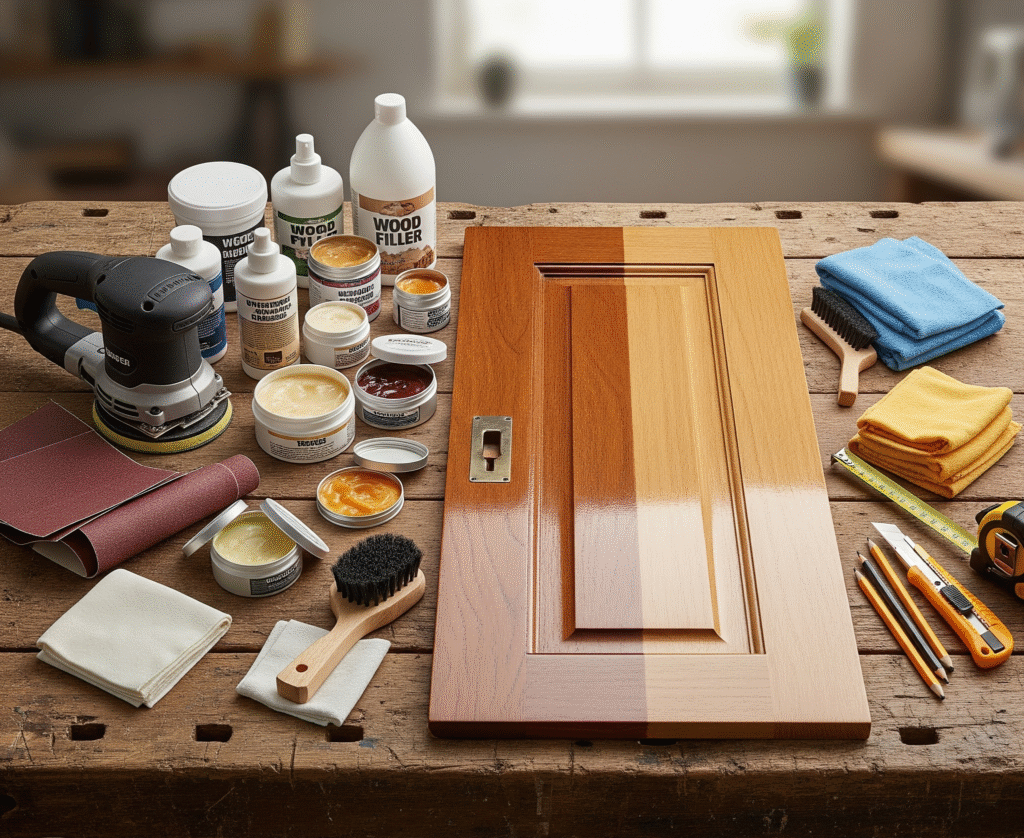
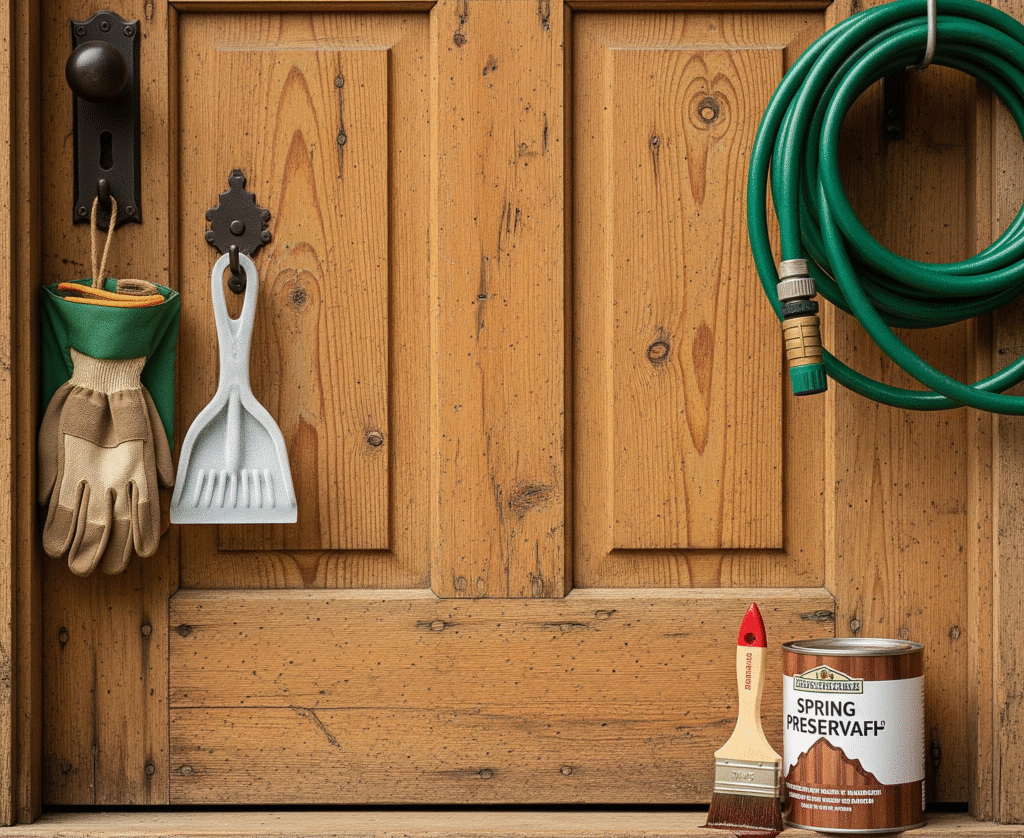
Before starting the polishing process, gather all the necessary tools and materials to ensure a smooth workflow. You’ll need soft lint-free cloths, fine-grit sandpaper (around 220 grit), wood cleaner, wood filler (if there are any cracks or dents), and your preferred wood polish—either wax-based, oil-based, or liquid polish. Optional tools include a sanding block, protective gloves, a dust mask, and a buffer or polishing pad for a more professional finish.
Having everything on hand prevents interruptions and helps maintain consistent results. Choose high-quality products suited to your specific wood type. For example, beeswax polish works well on solid wood, while a light spray polish might suit veneer finishes better. Also, ensure your workspace is well-ventilated to avoid inhaling fumes from cleaners or polish. A well-prepared polishing setup saves time, ensures safety, and contributes to a more polished, durable outcome.

Preparing the Door Surface
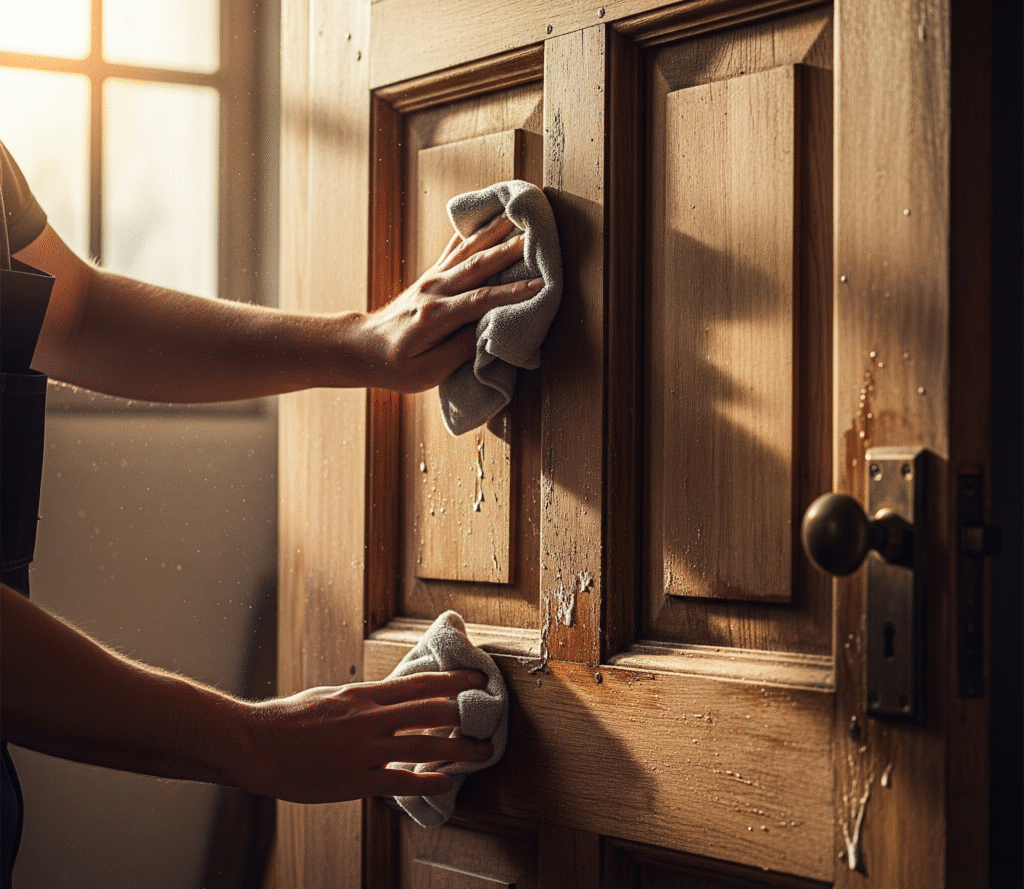
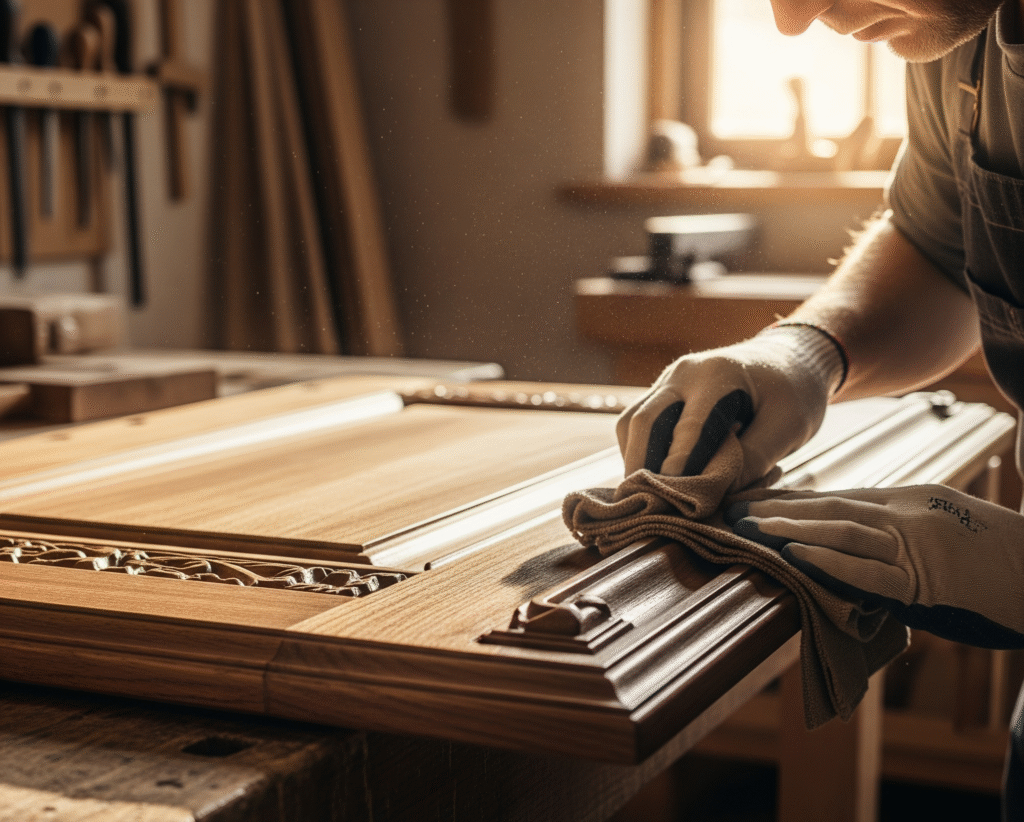
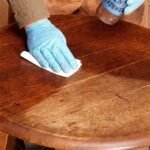
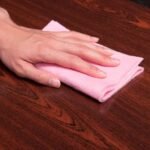
Proper surface preparation is crucial for effective polishing of wooden doors. Begin by removing any dust, dirt, or old polish using a wood cleaner or a mild solution of dish soap and water. Use a soft cloth to wipe the surface gently. Avoid soaking the door—moisture can damage wood fibers. Once clean, let it dry completely before moving to the next step.
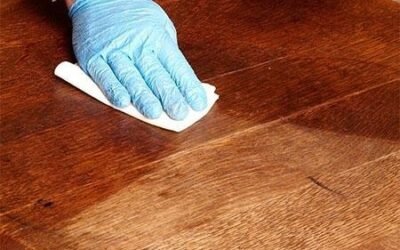
Next, inspect the door for scratches, dents, or uneven spots. Lightly sand the surface with fine-grit sandpaper to smooth imperfections and create a surface the polish can grip. Always sand in the direction of the wood grain to avoid scratches. For deeper cracks or holes, apply a wood filler and allow it to dry completely before sanding again. Clean the surface thoroughly after sanding to remove all dust. A clean, smooth, and dry surface ensures that the polish will adhere properly and give your wooden door a rich, even finish.
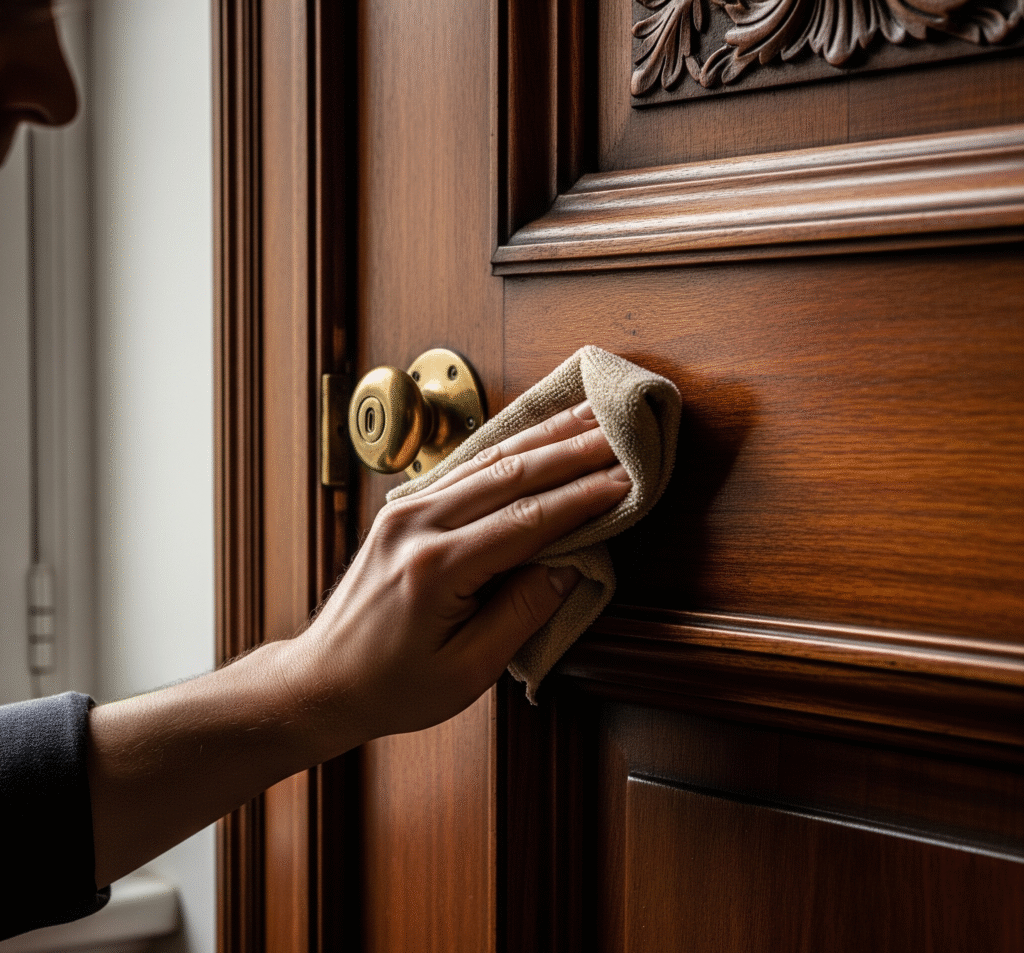
Cleaning the Door Before Polishing
Before you put any polish on your door, you need to make sure it’s totally clean. Dirt, dust, or grease can stop the polish from working well. Start by using a soft cloth to wipe down the door. If it’s really dirty, mix a little bit of dish soap with warm water and gently scrub the surface. Just be careful not to use too much water because wood can get damaged if it gets too wet.
After cleaning, use a dry cloth to wipe off any leftover moisture. Let the door air dry for a while to make sure it’s completely dry before you go any further. If you skip this step, the polish might not stick properly or could look uneven. Taking the time to clean your door carefully helps the polish go on better and keeps the wood looking nice for a long time.
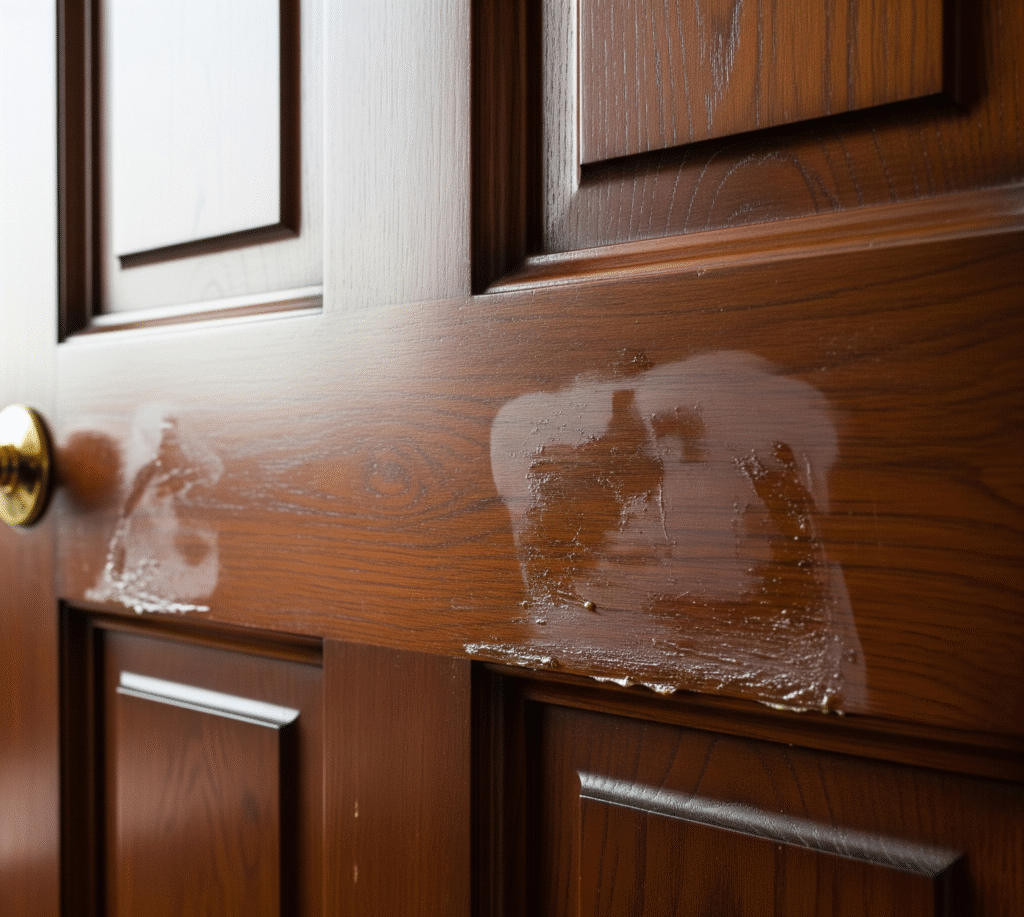
Fixing Scratches and Dents
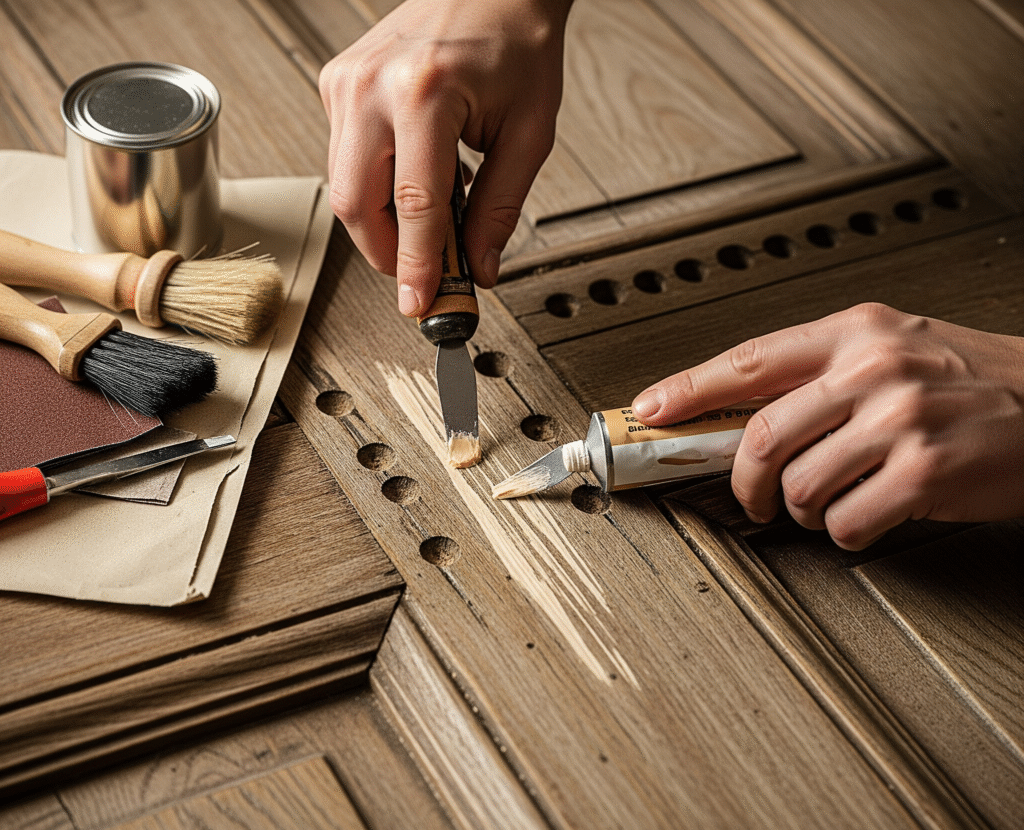
If your wooden door has scratches, dents, or tiny holes, it’s best to fix them before polishing. Start by looking closely at the door. If you find any small cracks or chips, you can use a wood filler to cover them. Wood filler is like a paste that fills in gaps and makes the surface smooth again. Once you apply it, let it dry fully. It usually takes a few hours.
After the filler dries, sand the fixed spots with fine-grit sandpaper until they feel smooth and even with the rest of the door. Make sure to sand gently and in the direction of the wood grain. When you’re done, wipe off the dust with a clean cloth. Fixing damage before polishing helps the door look smooth and polished, not bumpy or worn. It also makes the polish stick better and last longer.
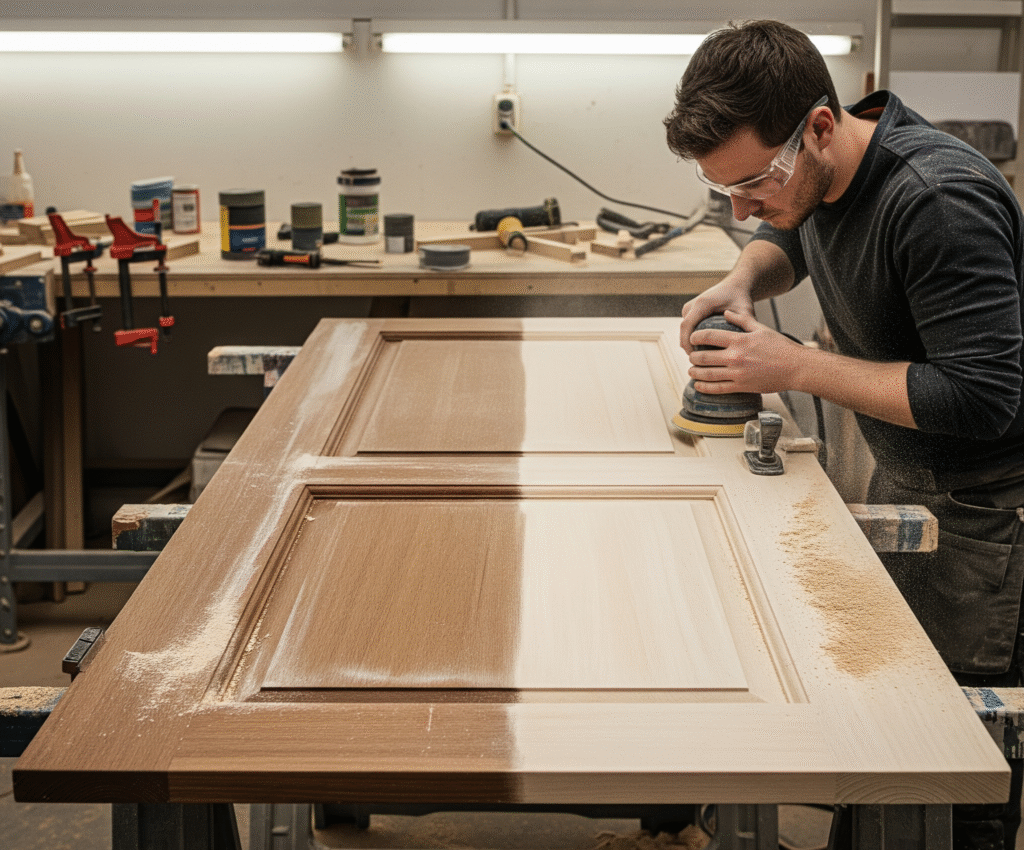
Sanding the Surface Properly
Sanding is an important step that helps the polishing stick better to the wooden doors. Start with fine-grit sandpaper (like 220 grit) and gently rub it on the wood. Always sand in the same direction as the grain of the wood—not against it. This helps keep the surface smooth and prevents scratches. If the door is already smooth, you don’t need to sand too much—just a light pass will do.
If your door has a shiny old finish, sanding will help remove that layer so the new polish can go on nicely. Be careful not to sand too much, especially on thin doors with a veneer surface. Once you’re done sanding, wipe off the dust with a dry cloth. You can also use a vacuum with a brush attachment to get dust out of corners or carvings. Clean sanding helps your door look even and polished.
Choosing the Right Polish
There are different types of polishing you can use on wooden doors. The right one depends on your door and the look you want. Wax polish is thick and gives a soft shine. It works great on solid wood. Oil polish soaks into the wood and helps protect it from the inside out—it’s good for doors that look dry. Spray or liquid polish is easy to use and gives a quick shine.
If your door is very old or made of special wood, it’s a good idea to test the polish on a small hidden area first. That way, you’ll know if the color or shine is right. Make sure to read the label on the polish to see if it matches your wood type. Picking the right polish makes a big difference—it can bring out the natural color of your door and help it last longer.
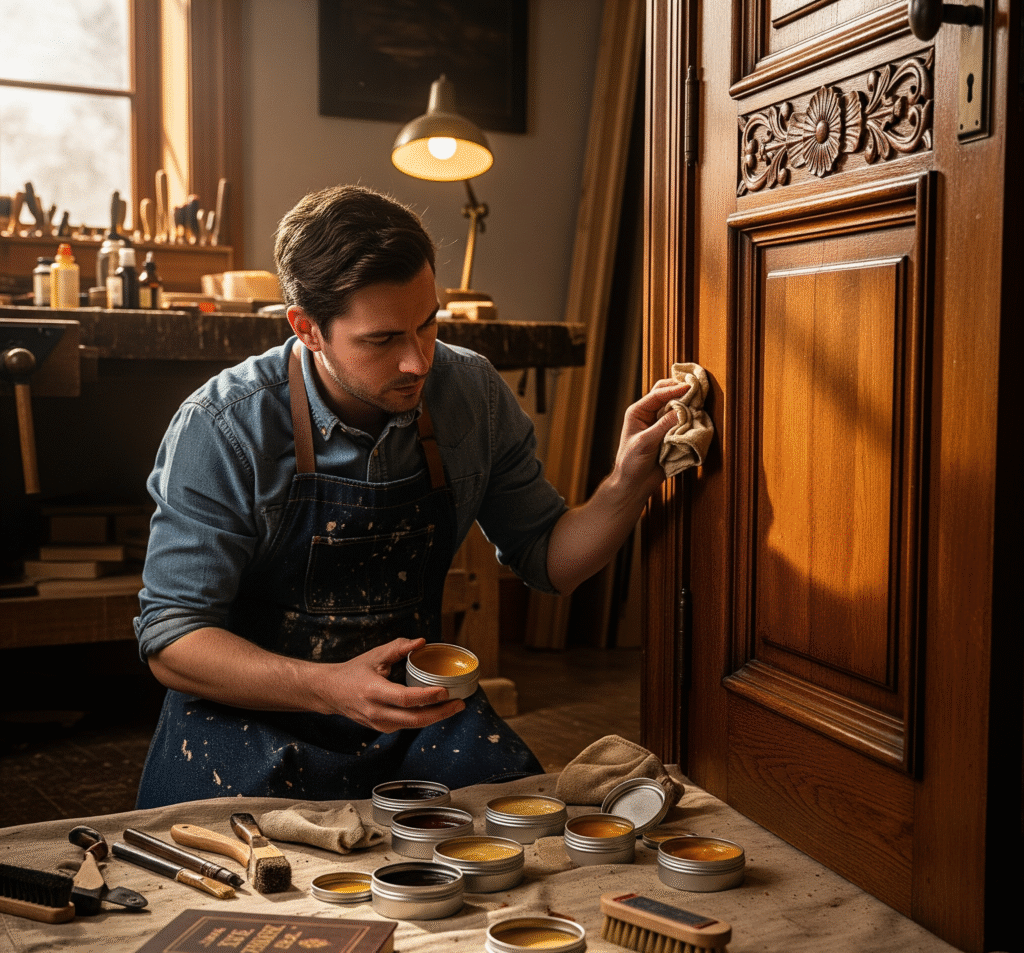
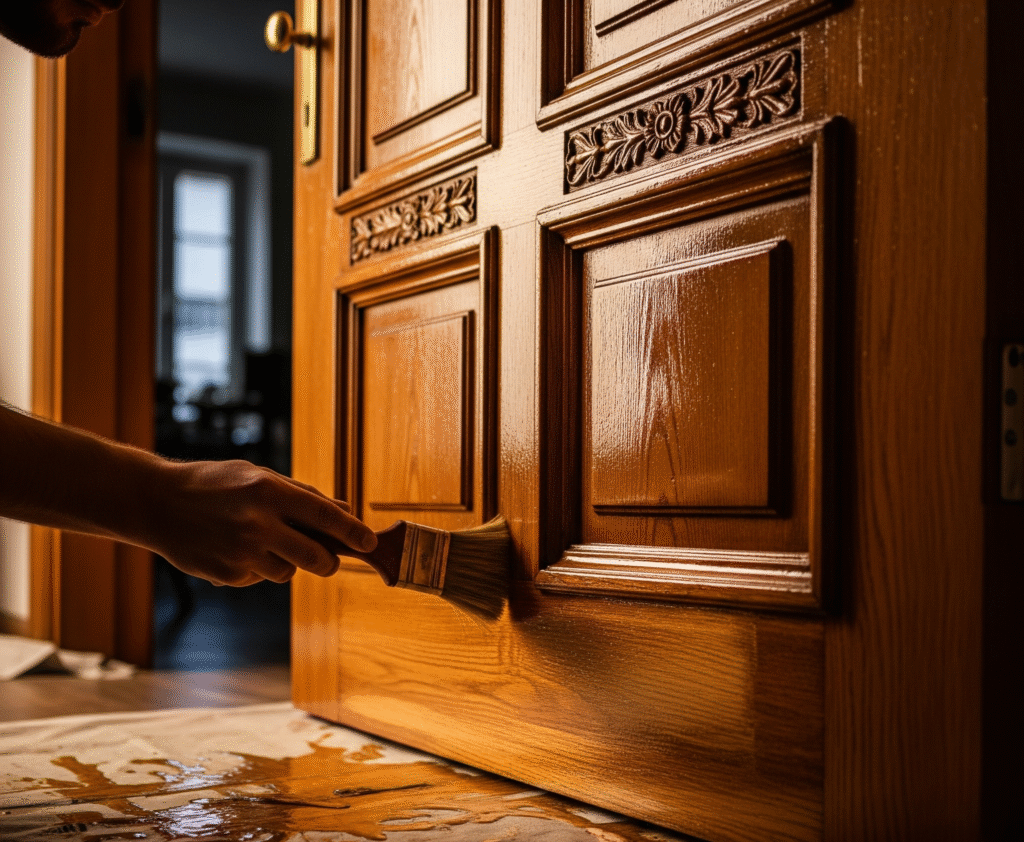
Applying the First Coat of Polish
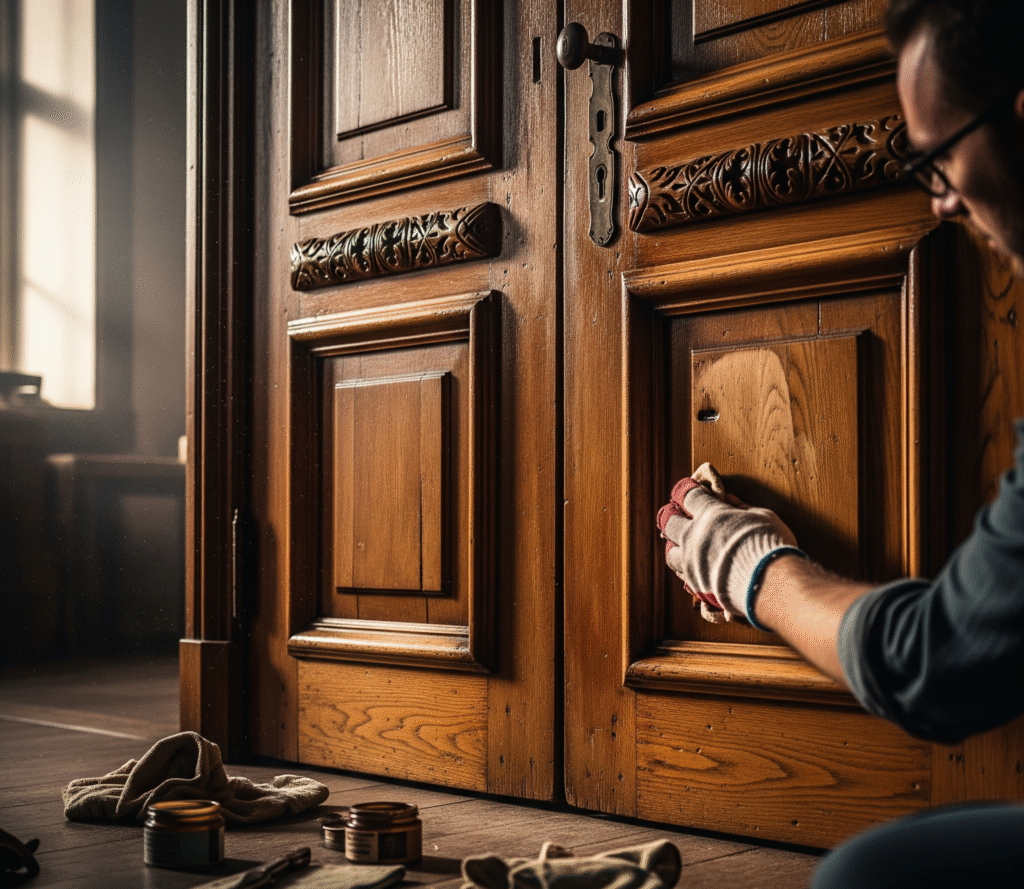
Once your door is clean and smooth, it’s time to apply the first coat of polish. Use a soft cloth or a foam brush to spread the polish evenly. If you’re using wax, rub it gently into the wood in small circles. For oil or liquid polish, apply a small amount and wipe it on in the direction of the grain. Don’t use too much polish—a little goes a long way.
Make sure you cover the entire door, including edges and corners. Let the first coat sit for a few minutes or as long as the label says. Then, use a clean cloth to wipe off any extra polish. This helps the finish stay smooth and not sticky. The first coat will soak into the wood and begin to bring out the shine. Now you’re ready to add more coats if needed.
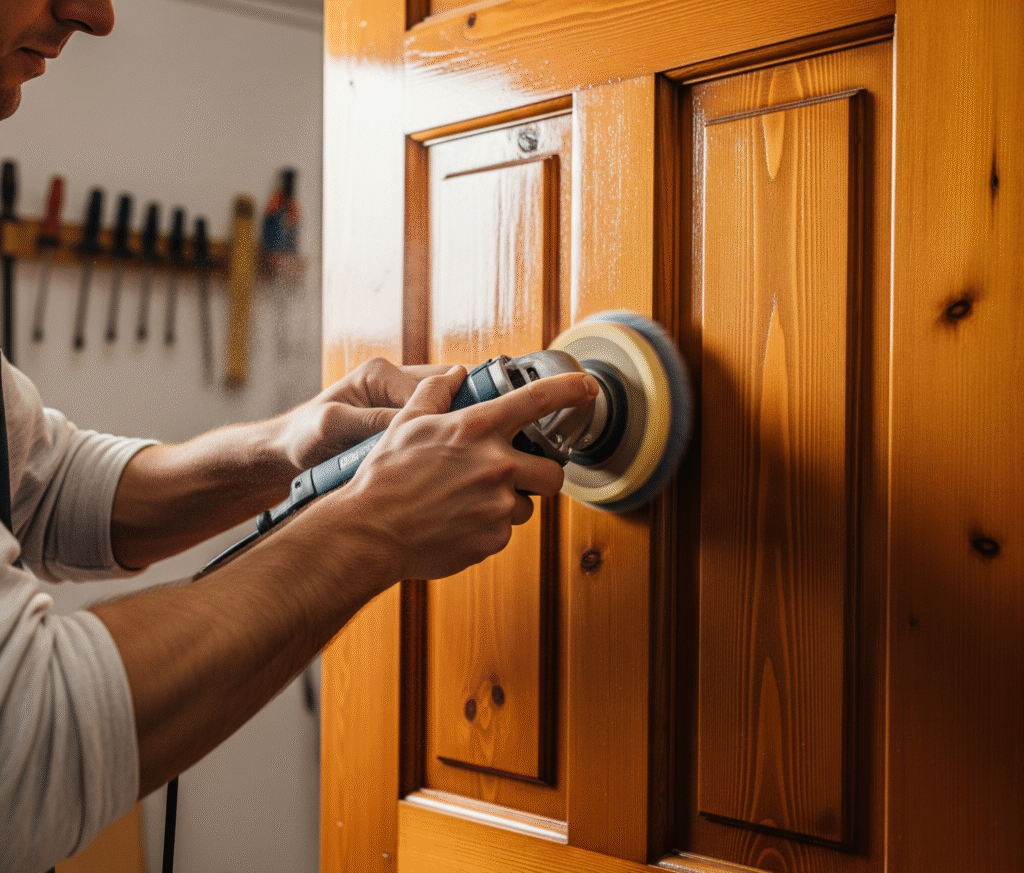
Buffing the Door for Shine
After the first coat of polish dries, it’s time to buff the door to bring out the shine. Buffing means rubbing the surface gently with a soft, clean cloth. Use small, circular motions or follow the grain of the wood. This helps smooth out the polish and makes the wood look shiny and fresh.
If you have a buffer or polishing pad, you can use that instead of doing it by hand. Just be sure not to press too hard. Buffing not only makes the door look great, but it also helps spread the polish evenly across the surface. This gives the wood a nice, even glow. The more you buff, the shinier your door will look. Buffing is the finishing touch that makes your hard work pay off and gives the door a clean, polished look.
Applying Additional Coats
(If Needed)
Sometimes, one coat of polish isn’t enough—especially if the door is very old, dry, or dull. After the first coat has dried and been buffed, you can add a second or even third coat for extra shine and protection. Make sure each coat is thin and even. Too much polish at once can leave streaks or sticky spots.
Just like with the first coat, apply the polish using a soft cloth or brush. Let each coat dry fully before you add the next one. Between coats, you can lightly buff the surface to keep it smooth. Extra coats help protect the wood from scratches, water, and everyday wear. It also gives your door a deeper, richer color. If you’re happy with how it looks after one or two coats, that’s fine too. You can always add another coat later if needed.
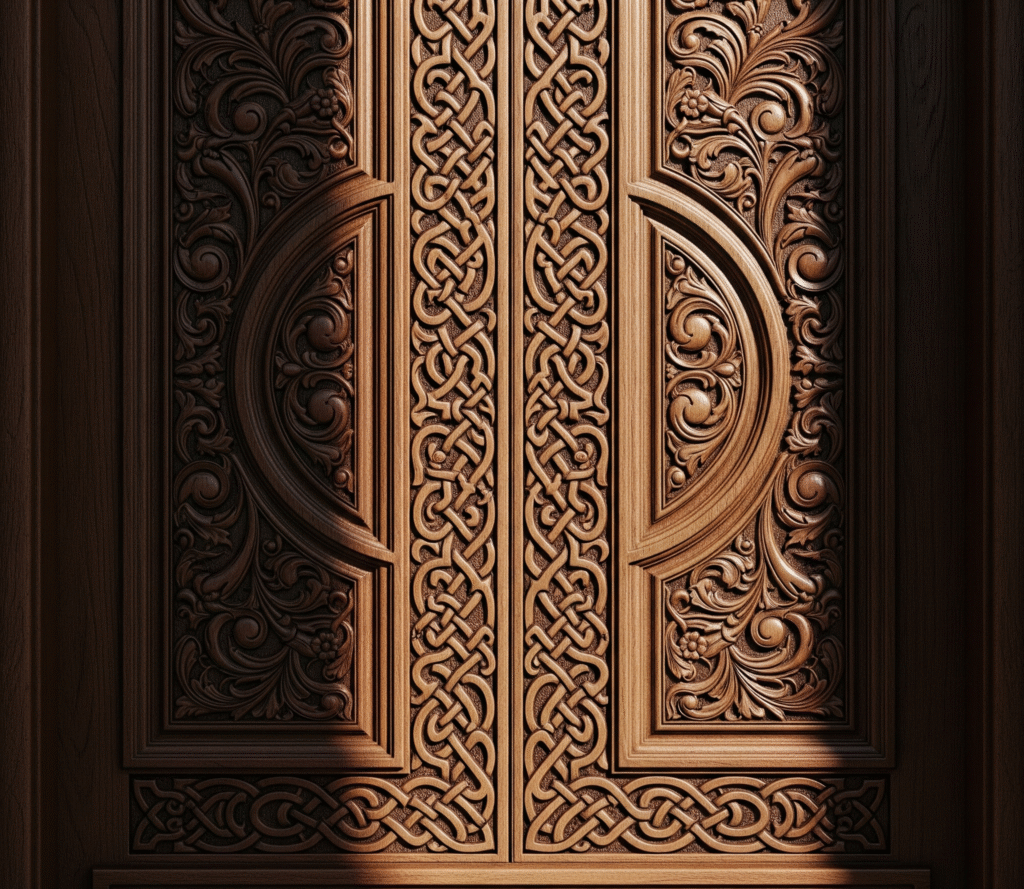
Dealing with Intricate Designs and Carvings
Some wooden doors have detailed carvings or fancy shapes that make polishing a bit tricky. You can’t just use a big cloth for these areas—you’ll need smaller tools to reach every part. Try using a soft toothbrush, cotton swabs, or small cloth pieces to get into tight corners and detailed areas.
Go slowly and be gentle so you don’t damage the carvings. Don’t let polish build up in the little cracks, because it can dry and look messy. After applying polish, use a soft brush to remove any extra from the carved spots. Buff carefully using a soft cloth or a small brush. Taking time to polish the carvings properly will make the whole door look beautiful. These small touches show off the door’s design and help keep the details clean and shiny.
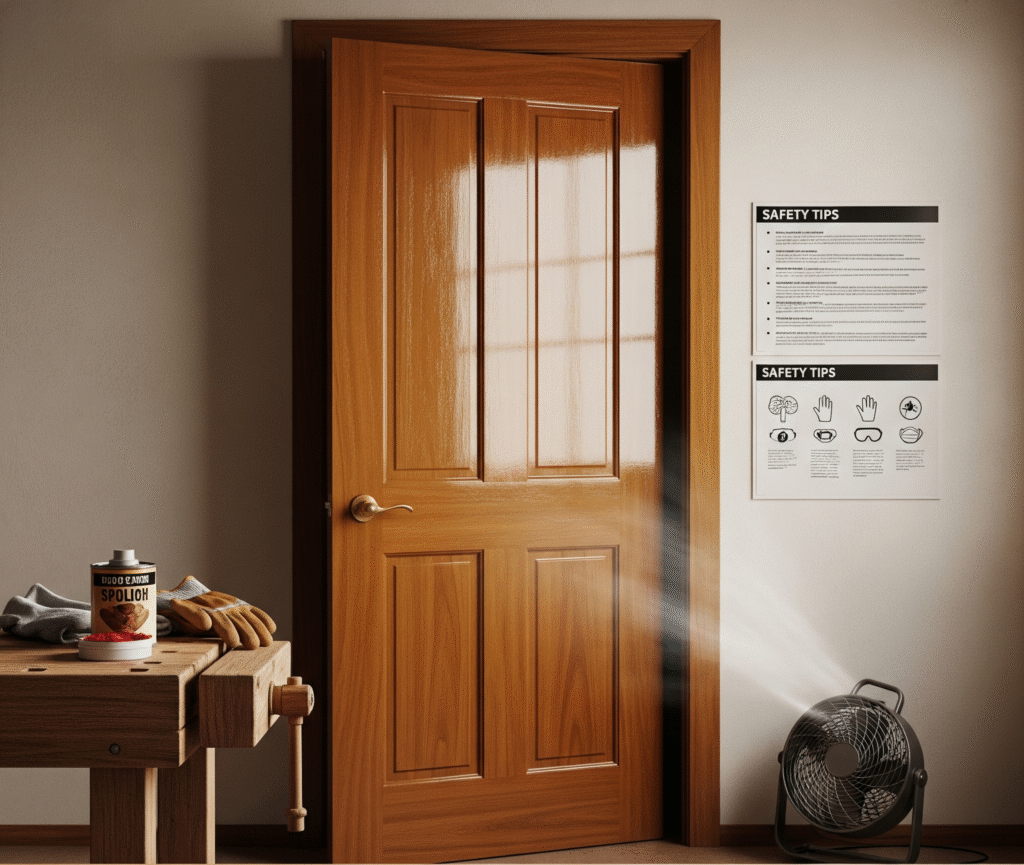
Drying Time and Safety Tips
After polishing, it’s important to let the door dry completely. Most polishes need a few hours to fully dry. If you touch the door too soon, you might leave fingerprints or smudges. To be safe, avoid closing or using the door right after polishing. Give it time to set and dry without any disturbance.
Also, make sure you’re polishing in a well-ventilated area. Some polishes have strong smells or fumes, so open windows or use a fan. Wear gloves to protect your skin, and don’t forget to wash your hands afterward. Keep polish and tools away from kids and pets while working. Being careful during and after polishing helps protect both you and the wood. Letting everything dry properly means your hard work will last longer and look better.
Polishing Wooden Door Frames and Edges
Don’t forget about the door frames and edges! These parts also need care to match the rest of the door. First, clean the edges and frame just like you did with the main part of the door. Use a smaller cloth or brush to get into the tight spots where dust builds up.
Once it’s clean and dry, apply a small amount of polish to the edges and frame. Be gentle and use thin layers. If there are carvings or corners, a cotton swab can help. After the polish dries, buff the frame with a soft cloth. A polished frame makes your door look complete and well-maintained. Even though these areas might seem small, they help bring the whole look together. Paying attention to the details will make your wooden door stand out even more.
Polishing Inside vs. Outside Doors
Not all doors need the same kind of polishing. Inside doors usually stay clean longer and don’t get much sunlight or rain. A light polish every few months is enough to keep them looking good. For indoor doors, a simple spray or wax polish works well and is easy to use.
Outside doors are exposed to more dust, moisture, and sunlight. These doors need stronger protection. Use a polish that protects against water and UV rays. You may also need to polish outdoor doors more often—about every 3 to 6 months. Before polishing, check for peeling or fading, and fix any damage right away. Keeping outdoor doors polished helps protect the wood and keeps your home looking beautiful from the outside too.
Seasonal Maintenance Tips
Wooden doors can be affected by the weather. In hot, dry weather, the wood may dry out and lose its shine. In rainy or humid seasons, moisture can damage the surface. That’s why it’s a good idea to polish your wooden doors a few times a year, especially when the seasons change.
In the summer, use a polish that protects against sun damage. In the rainy season, choose one that keeps out moisture. Before each new season, inspect your door for cracks or dull spots, then clean and polish it if needed. Regular polishing helps stop problems before they start and keeps the wood strong. Making this part of your seasonal cleaning routine can help your doors look nice all year round. It’s a simple way to protect your home and keep it looking its best.
Common Mistakes to Avoid
When polishing wooden doors, people sometimes make small mistakes that can cause problems. One common mistake is using too much polish. This can leave sticky spots or streaks. Always use a small amount and spread it evenly. Another mistake is not cleaning or sanding the door properly before polishing. If the surface is dirty or rough, the polish won’t look good.
Also, avoid using harsh cleaners or the wrong type of polish. These can damage the wood or change its color. Don’t rush the drying process—let each coat dry completely before adding another. Skipping this step can lead to a dull or uneven finish. Finally, always test the polish on a small hidden area first to see how it reacts. Learning from these mistakes helps you polish doors the right way and get better results every time.
Eco-Friendly Polishing Options
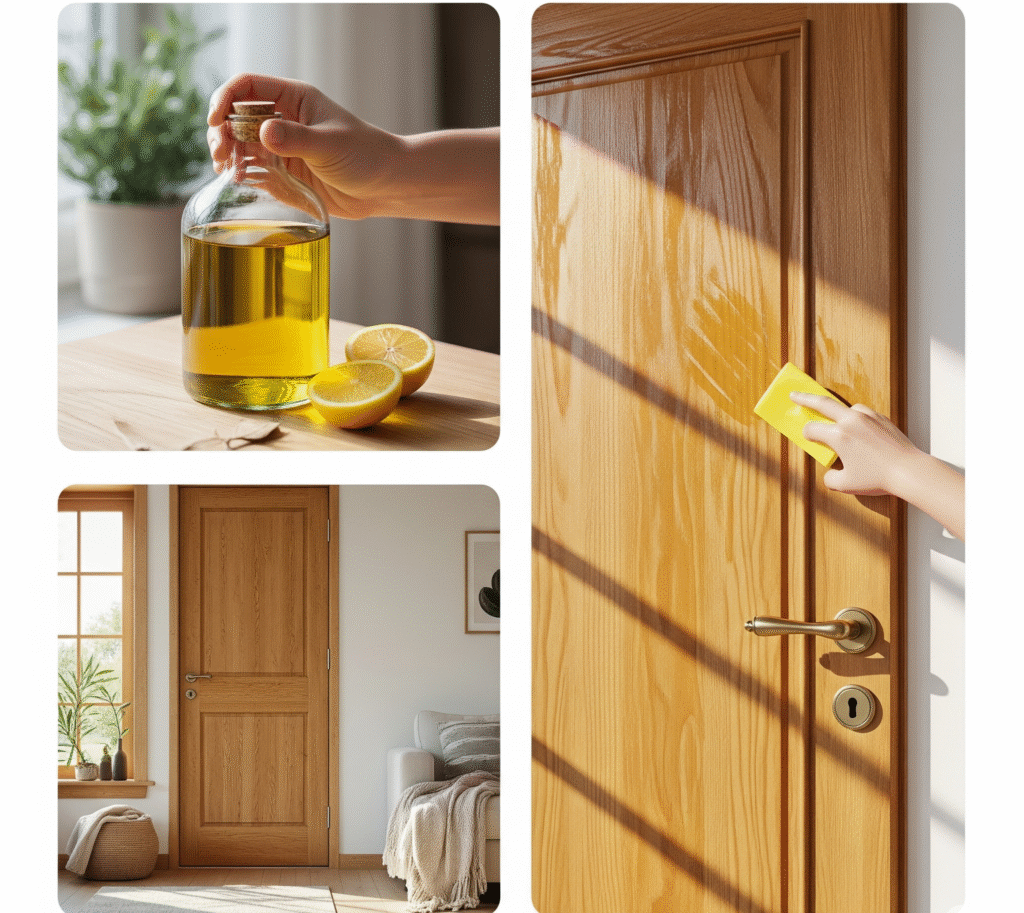
If you care about the environment, there are eco-friendly ways to polish your wooden doors. Some polishes are made from natural ingredients like beeswax, plant oils, and citrus. These are safer for the planet and better for indoor air quality. Look for labels that say “non-toxic” or “eco-friendly.”
You can also make your own polish at home using simple things like olive oil and lemon juice. This kind of DIY polish gives wood a natural shine and smells good too! When cleaning your door, use cloths that you can wash and reuse instead of paper towels. Choosing earth-friendly products helps reduce waste and keeps your home healthier. Eco-friendly polishing is not just good for your door—it’s also good for your family and the planet.
Polishing Antique or Old Wooden Doors
Older wooden doors often need extra care. If you have an antique door, be gentle when cleaning and polishing it. The wood might be more delicate, and some finishes can be easily damaged. Start by dusting the door with a soft cloth. Then, use a mild polish—nothing too strong. Test it on a small spot first.
Don’t sand an old door too hard, especially if it has carvings or paint details you want to keep. Instead, lightly buff the surface to bring out its shine. Antique doors may also have old damage or cracks, so be careful when using fillers. Sometimes, it’s best to call a professional if the door is very valuable or fragile. Taking your time and being gentle helps preserve the beauty and history of old wooden doors.
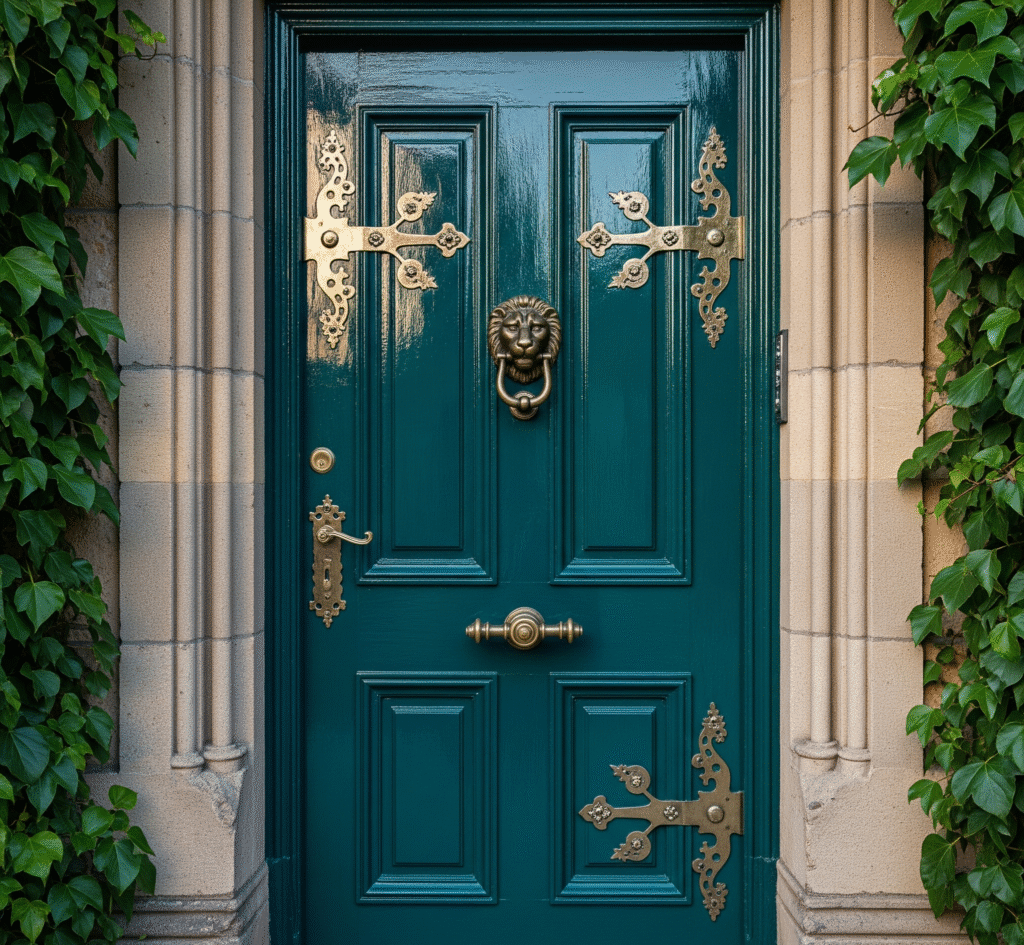
Final Touches: Making Your Door Stand Out
After polishing, you can do a few extra things to make your wooden door look even better. You can clean or replace the handles, locks, or knockers to match the shiny finish. Wipe down the frame and surrounding wall to make the whole area feel fresh and new. If your door has glass panels, clean them so they sparkle too.
You could even hang a small decoration like a wreath or nameplate for a personal touch. These small final touches help the door look complete and show off all the hard work you put in. A well-polished and neatly decorated door makes your home feel warm, stylish, and welcoming. It’s a simple upgrade that leaves a lasting impression on anyone who visits.
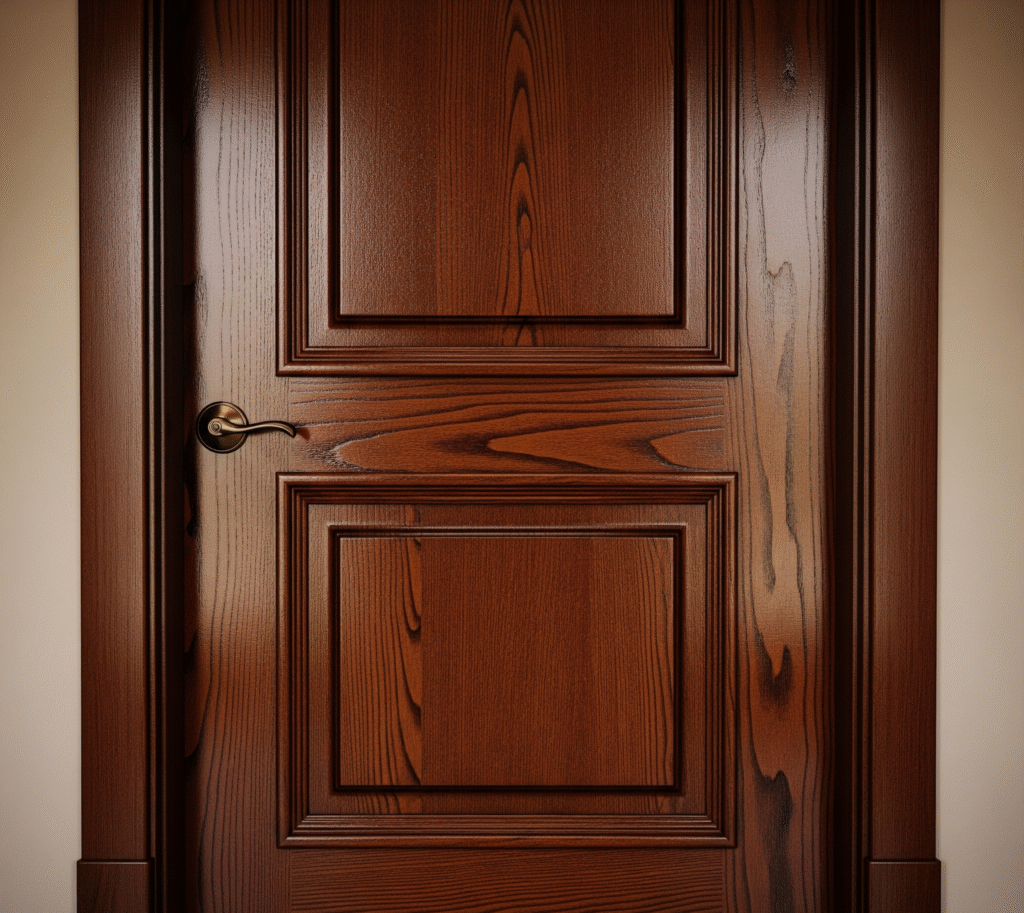
Conclusion: Enjoy Your Polished Wooden Door
Polishing a wooden door isn’t hard, but it does take a little time and care. By cleaning, sanding, fixing, and using the right polish, you can bring out the natural beauty of your door. Whether it’s brand new or very old, polishing helps protect the wood and keeps it looking great for years.
Now that you’ve learned how to do it step by step, you can take care of any wooden door in your home. With regular polishing and a few easy habits, your doors will stay shiny, strong, and stylish. Plus, you’ll feel proud knowing you did it yourself! So go ahead—enjoy the fresh new look of your polished wooden door.


0 Comments